
In this article we will go through the first quadrent of the System Settings Page 1.
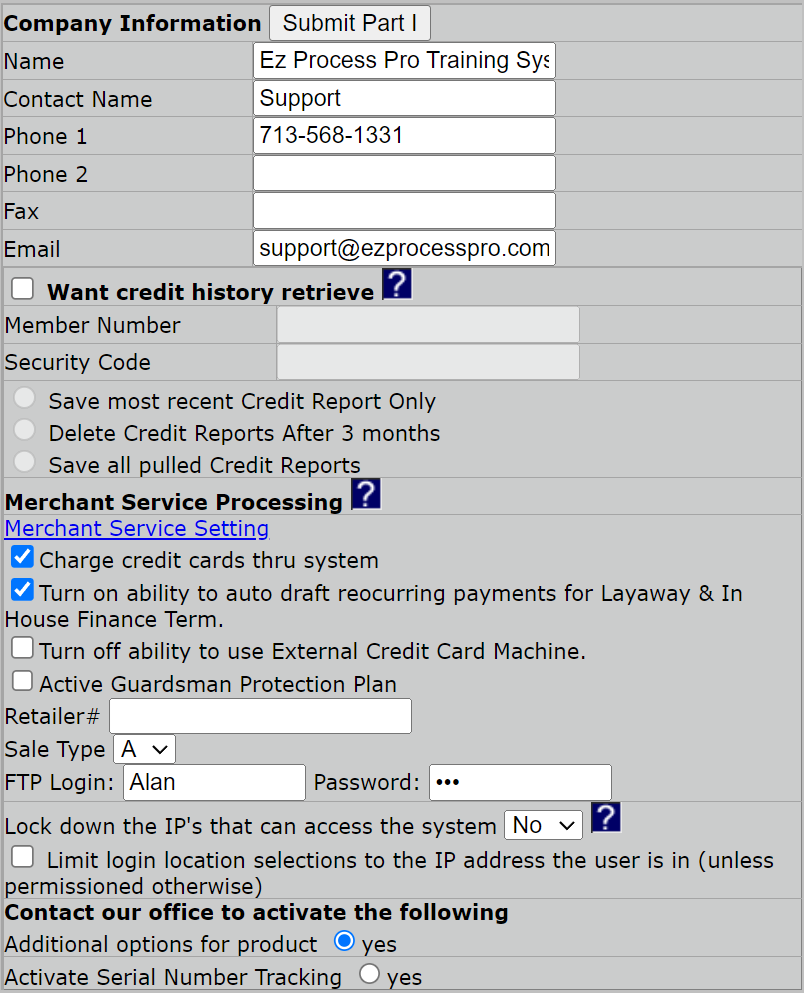
This section focus on setting up everything in Part I of your System Settings. These are the settings found on Page 1 on the upper left part of the page, shown below.
Below, each section is broken down with a description of how it works and what settings need to be configured.
Helpful Tip: Settings do NOT automatically save as you fill them out. You will need to click "Submit Part I" for the settings to save, or they will be lost when you close the page.
Company Information
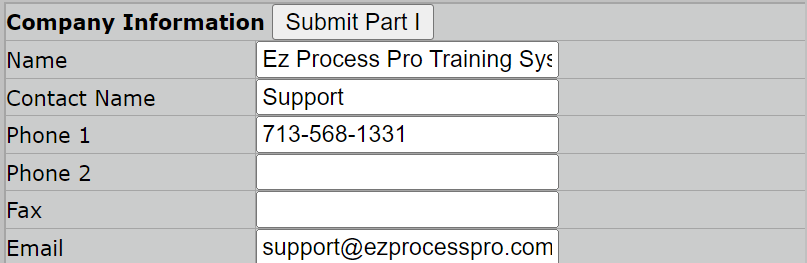
On the top left hand side of the page, you see the Company Information area. Enter in the name of the company that you would like to be displayed at the top of the receipts. Below this box is some contact information the EZ Process Pro team will need. Please fill these boxes out. We will use these numbers in order to get in contact with your company. After you have filled the boxes in, press "submit," and the information will be saved into the database.
Credit History
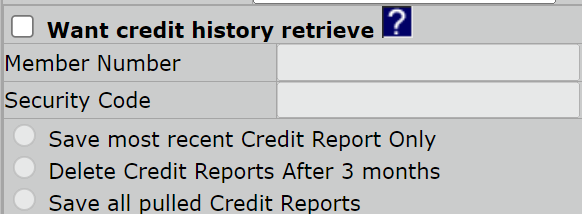
The boxes under the Company Information area is known as the ACRS (Automatic Credit Retrieval System) information. EZ Process Pro has partnered with CSC and Equifax in order to bring you a quick and easy way to pull your customer's credit.
Credit Retrieval is useful for companies that offer in house financing as well as those who mainly process through outside financing companies. Pulling credit prior to processing through particular external finance company is a trick of the trade that will assist your company in gaining higher approval rates.
If you would like to pull credit, please call your EZ Process Pro Representative, and they will be more than willing to help you start the process of setting up an account*.
You will set up an account through Equifax as detailed here. After you get set up, enter in your Member Number, Security Code, and choose which Credit Report option you prefer for your company.
After you have obtained this information from Equifax sales associate make sure to choose from the below options regarding what credit reports to save and when to delete credit reports. Your choices include:
- Save most recent credit report: Enables you to save the credit report that applies to the most recent customer
- Delete Credit Reports After 3 months: This allows for your computer system to not become inundated in old credit reports that only take up space on your computer system
- Save all pulled Credit Reports: This could be helpful if you have a lot of repeat customers because it would save time to already have the credit report pulled thus facilitating the process of closing a sale.
Merchant Service Processing

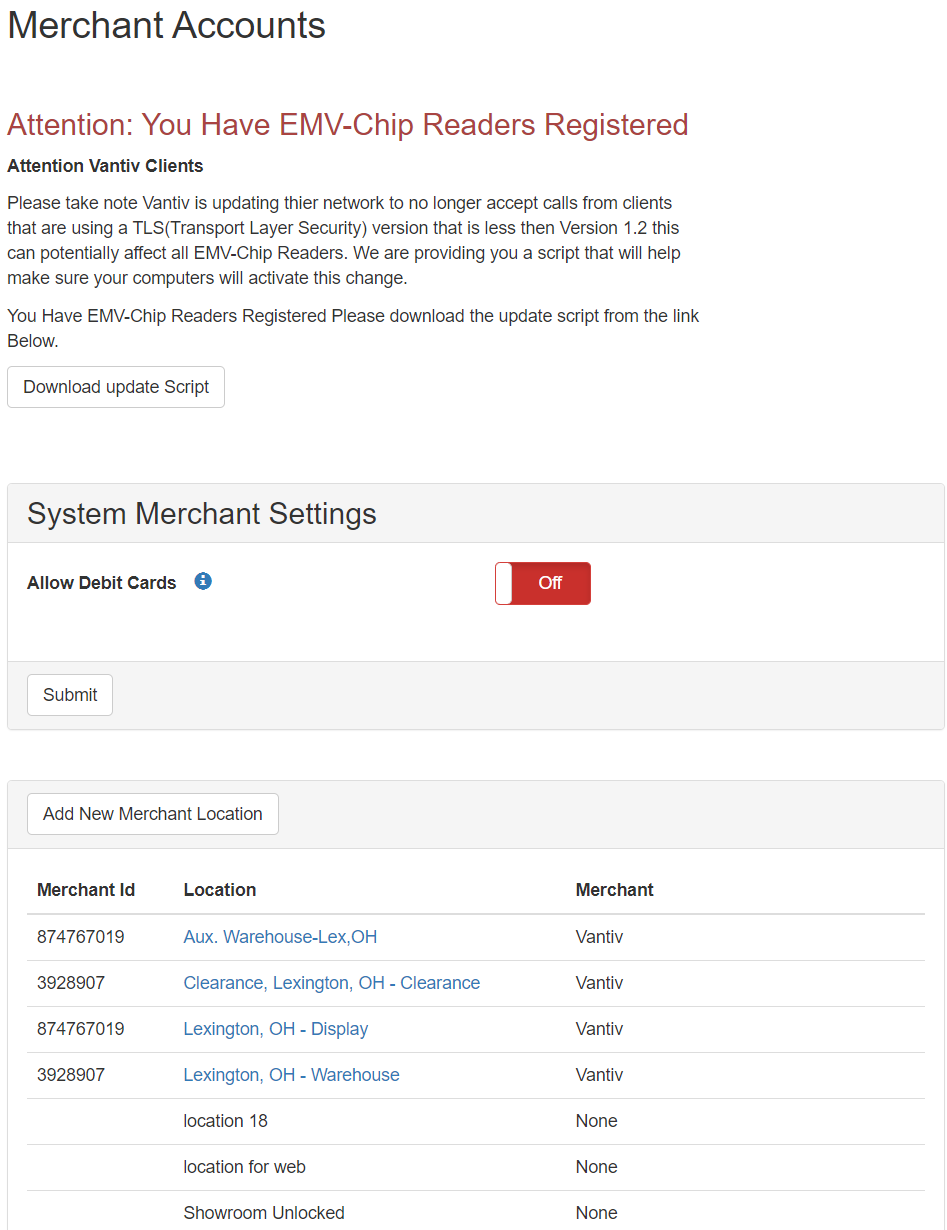
The Merchant Service Settings are an important part of your ability to take Credit Card payments in EZ Process Pro. The first link leads to the section where you are able to set up and add new credit card terminals in EZ Process Pro as seen in the screen shot below.
It is recommended to walk through this process with an EZ Process Pro Customer Success representative.
Below the Merchant Service Settings, you have the following options:
- Charge credit cards thru system. This allows your system to take Credit and Debit card payments through EZ Process Pro. If you are planning on using the Worldpay integration with EZ Process Pro, it is recommended that you have this checked.
- Turn on ability to auto draft reoccurring payments for Layaway & In House Finance Term: This gives your system the ability to store a customer's card information and automatically charge the card on a monthly basis for payment.
- Turn off ability to use External Credit Card Machine: Is the final section relating to credit cards. In your "Payment Forms" section in Part IV, you see different forms of payment available. Active ones can show up in the payment types available when making a sale unless you turn this check off. If you are using the Worldpay integration with EZ Process Pro, it is recommended you have this checked.
Guardsman Integration
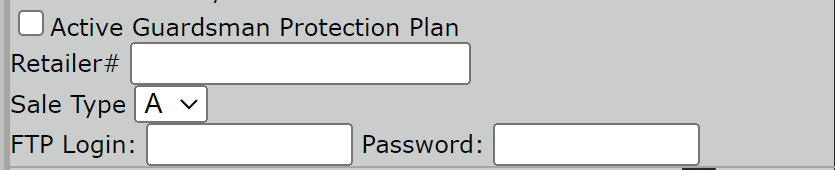
Directly below the Merchant Service Processing section, you will see settings for your Guardsman integration. If you are an active Guardsman retailer, you can use these settings to send your sales over to Guardsman directly.
- Actrive Guardsman Protection Plan: This setting tells your system whether it should enable the Guardsman connection. If you are using Guardsman, make sure this is checked.
- Retailer number, Sale Type, and FTP Login ID and Password: These will be provided to you by your Guardsman sales rep. When you have your details, add them in here to connect your system to Guardsman.
Lock Down IPs

You now have the option to Lock down the IP's that can access the system. In order to lock an IP address, you must have a form of high speed Internet and a Static IP provided by your ISP.
Locking the IP address gives you the option to choose whether employees can log into EZ Process Pro from your store or from other locations such as their home.
If you choose Yes, you will have the chance to set up your location IP Addresses and employee remote login permissions later in the setup process.
If you choose to limit the login to a specified IP Address please see our article
Activate the Following
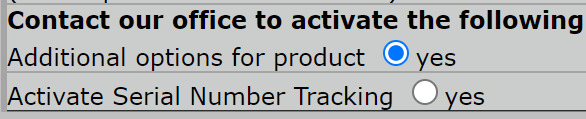
You now have the option to activate "Additional Options" or "Serial Number Tracking". To enable either of these, contact support@ezprocesspro.com and a Support team member can assist you.