This article will provide a step-by-step walkthrough on how to pull all the information needed to register a Guardsman warranty for your customer
In order for the report to function correctly, these items must be entered into the system as non-inventory items. If you need assistance with these, please see our article Entering Non-Inventory Items
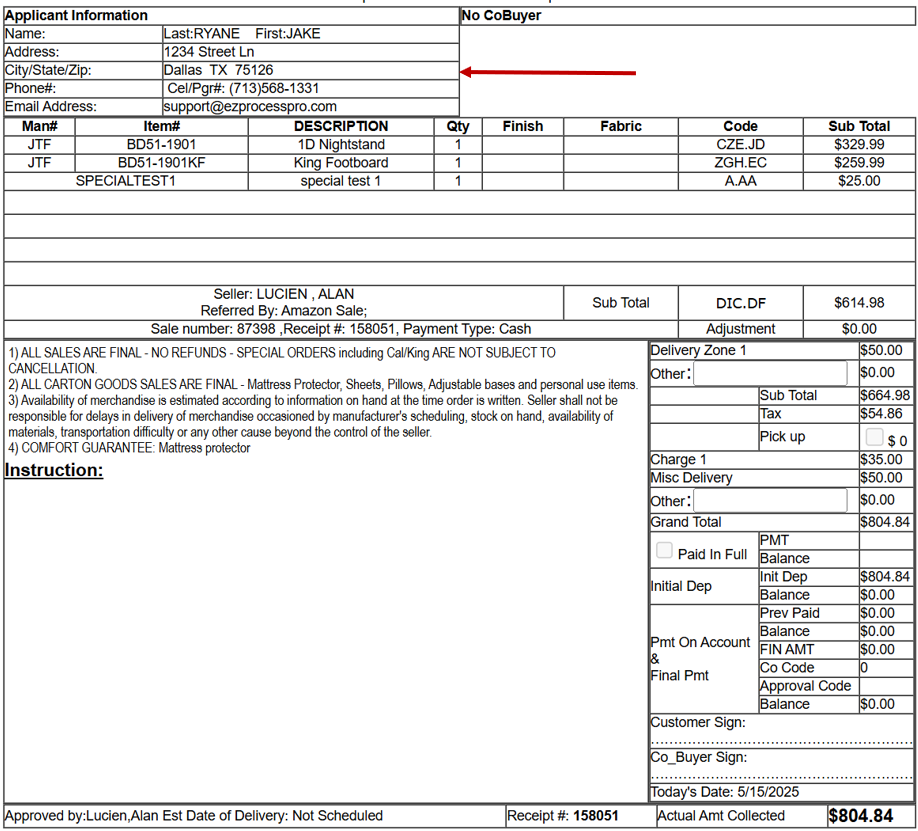
Once the items are entered correctly, you can then use the Item Sold Report to find all sales with non-inventory items sold. This report will include all of the information needed to register the warranty with Guardsman.
Please note that the information on the sale is collected by the salesperson when creating the customer's account or at the time of sale.
To pull the report, you must first navigate to Main Menu > Ordering > Inventory > Item Reports > Item Sold Report.
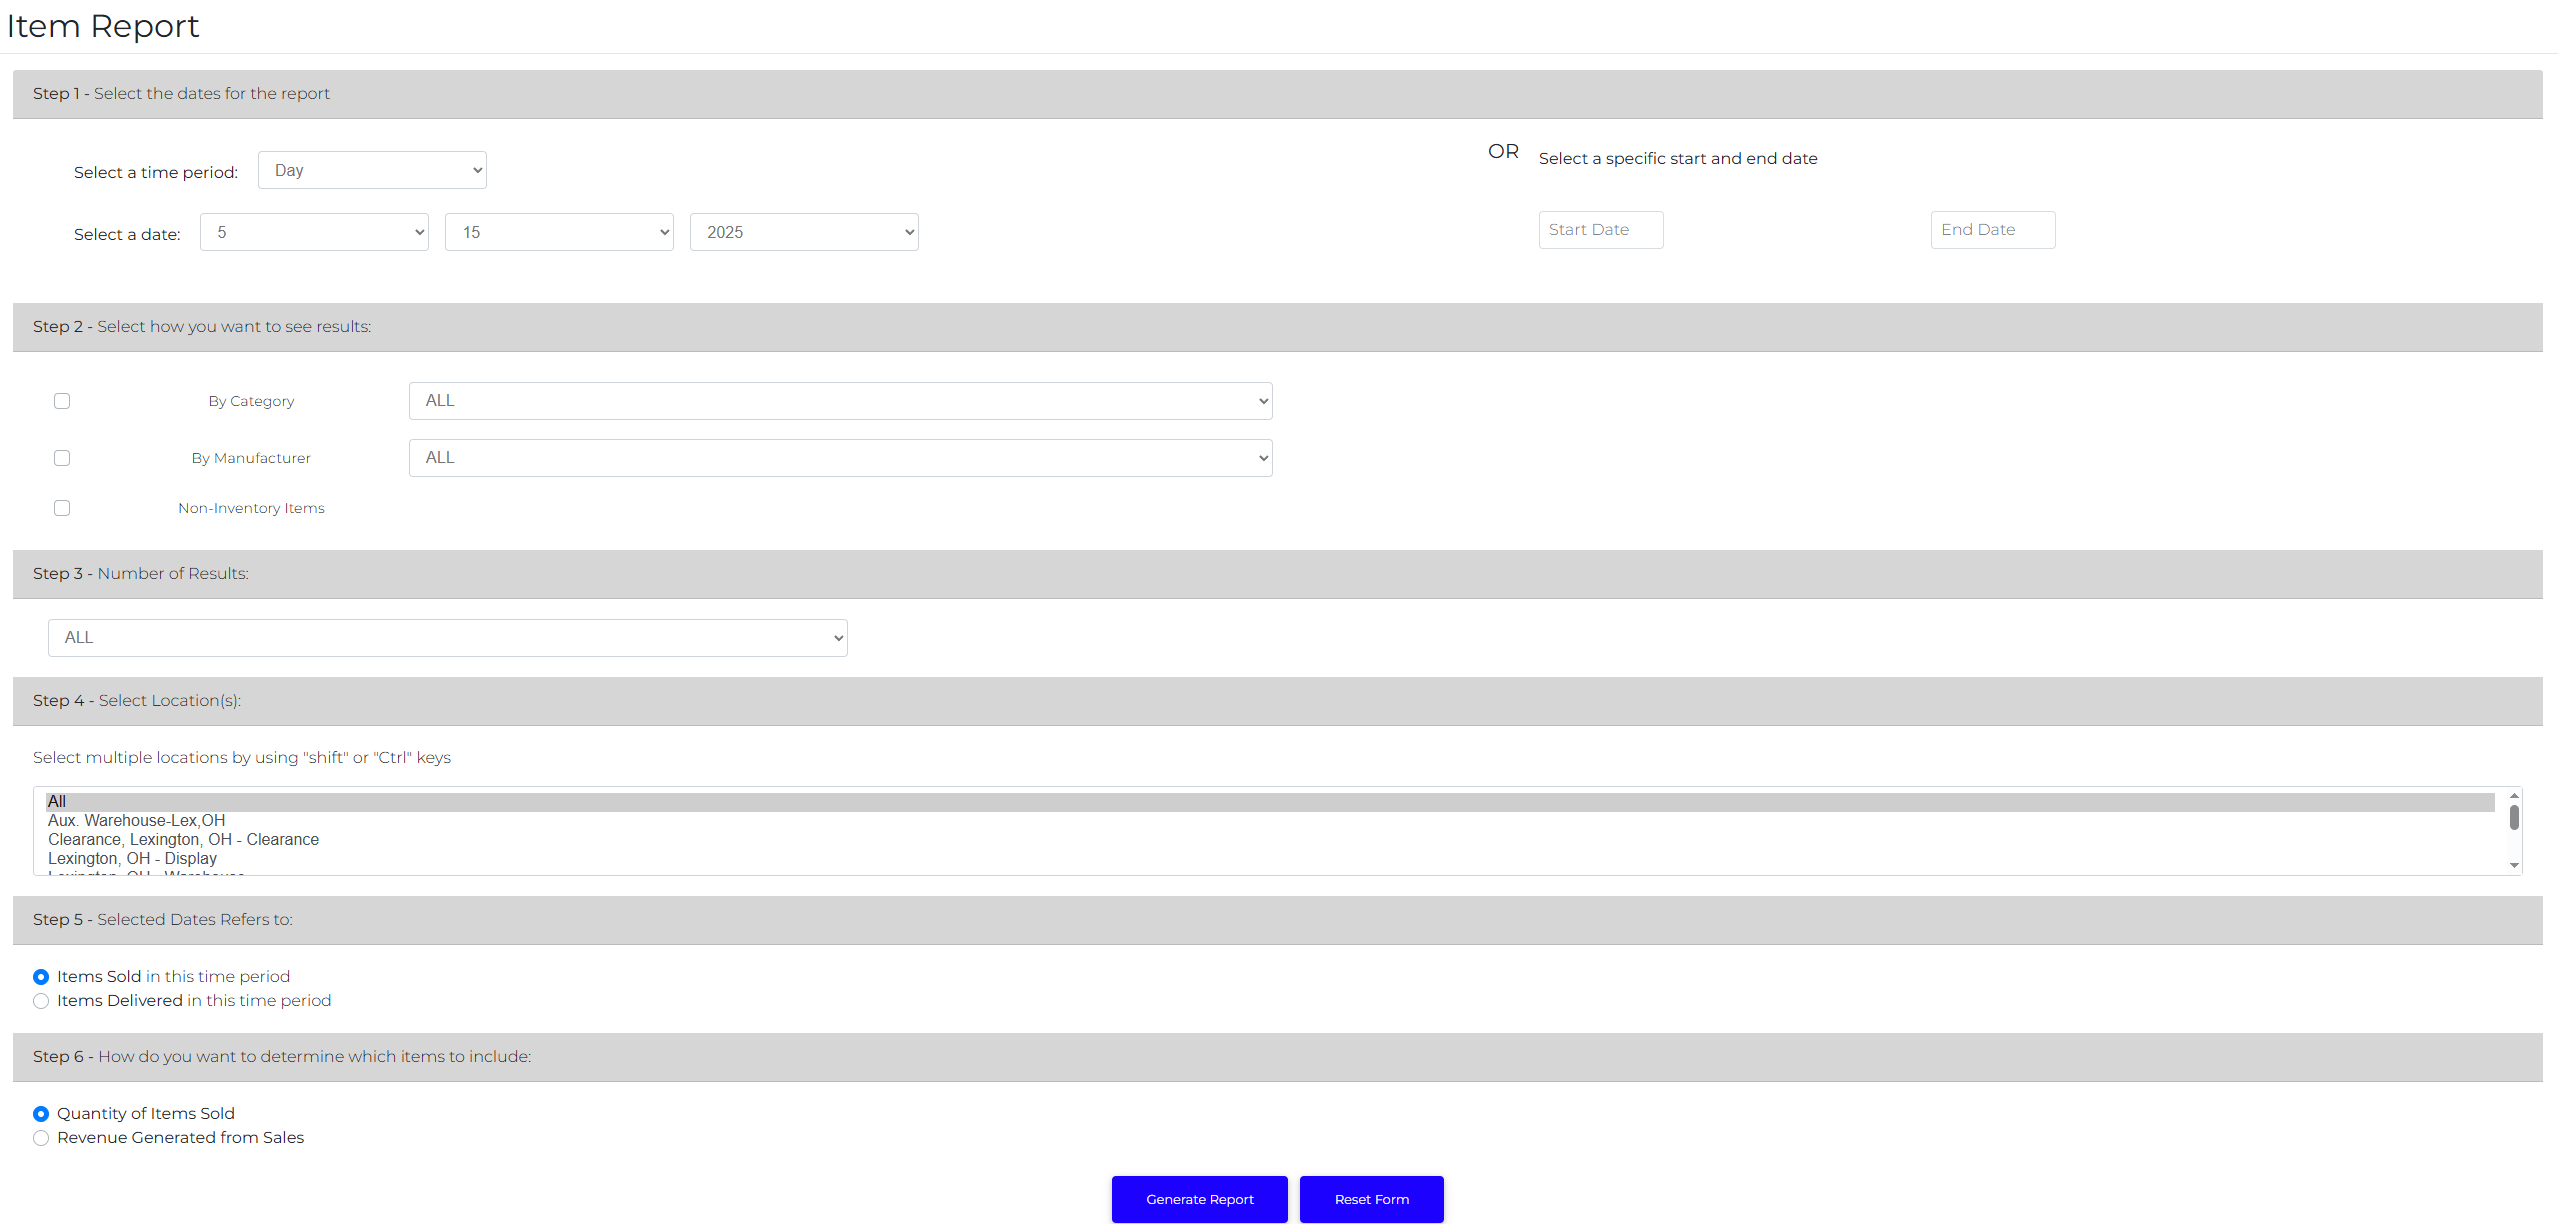
Here, you will need to select the following:
Step 1: Select the time frame or date range you wish to see
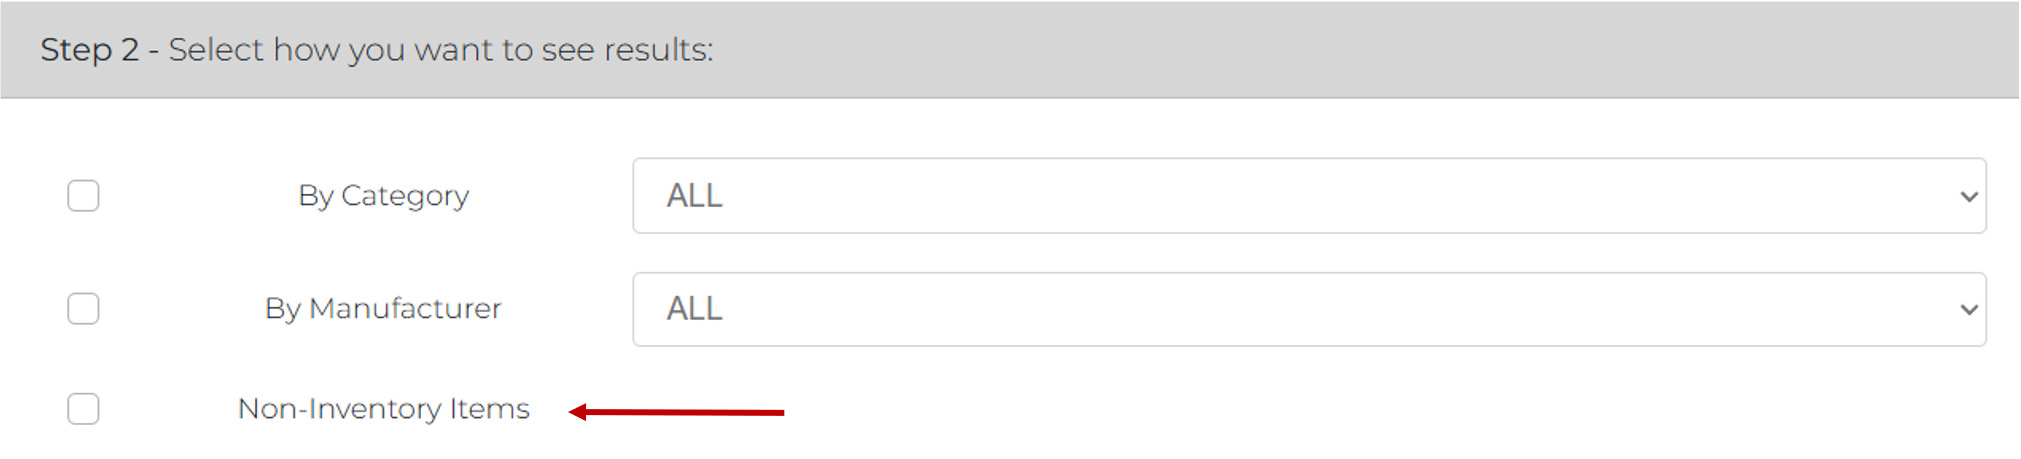
Step 2: Select Non-Inventory Items
Step 3: You can choose which items you will see. For the purposes of this article, we suggest that you select All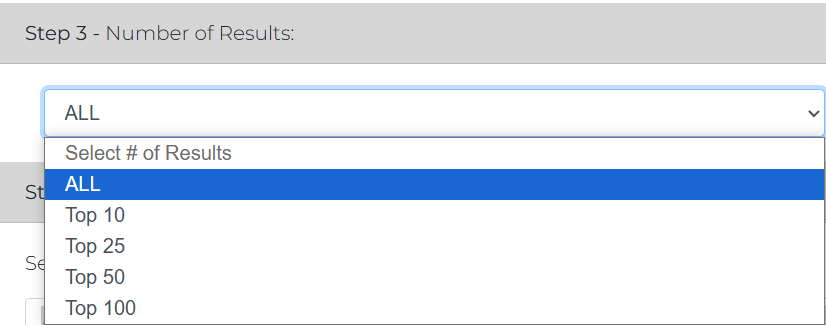
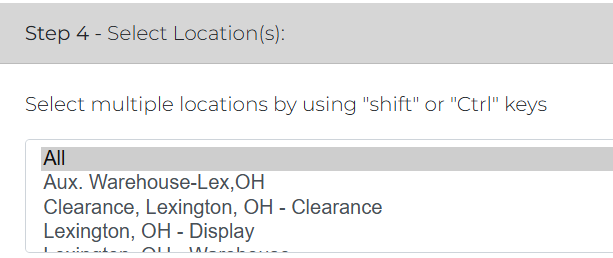
Step 4: Select the location(s) you want to see on the report
Step 5: You can choose to see all the Items Sold or Items Delivered.
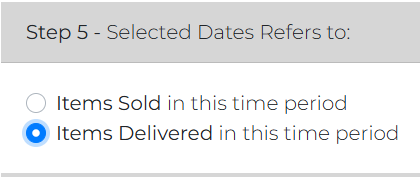
We recommend that when running the report for warranty purposes, you select Items Delivered
Step 6: Select how you would like to see the data
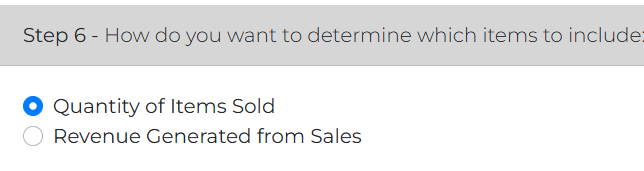
We recommend that the Quantity of Items Sold be selected
After making your selections, click Generate Report at the bottom of the screen. The report will run, and you will be presented with the following report
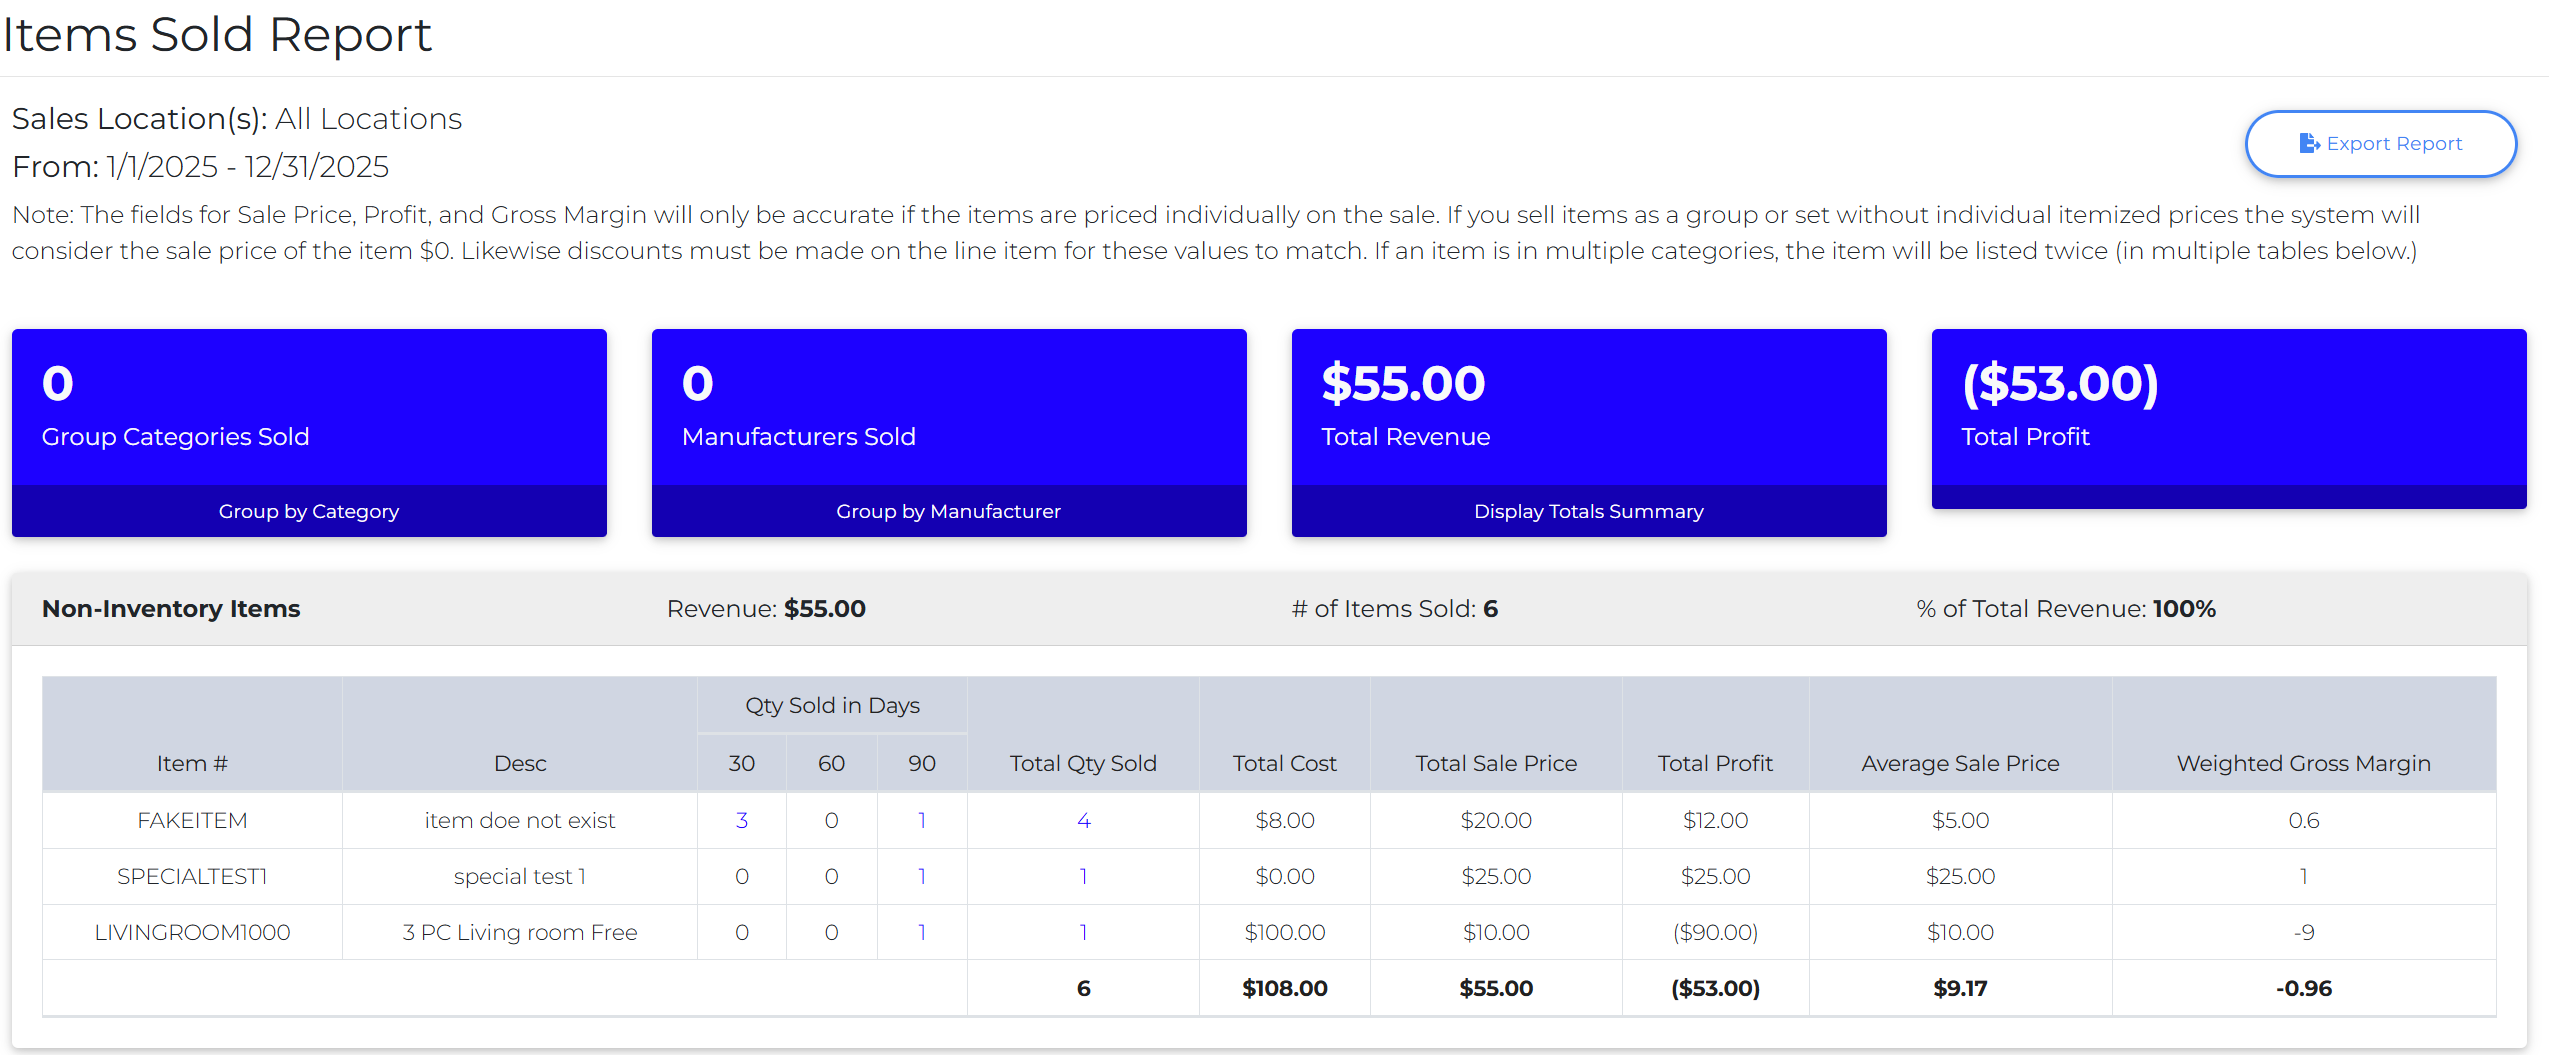
To find the information needed for the warranties, click on the number under Total QTY Sold

You will be directed to the page below. To see more details about the sales, click on the plus sign shown in the image below.
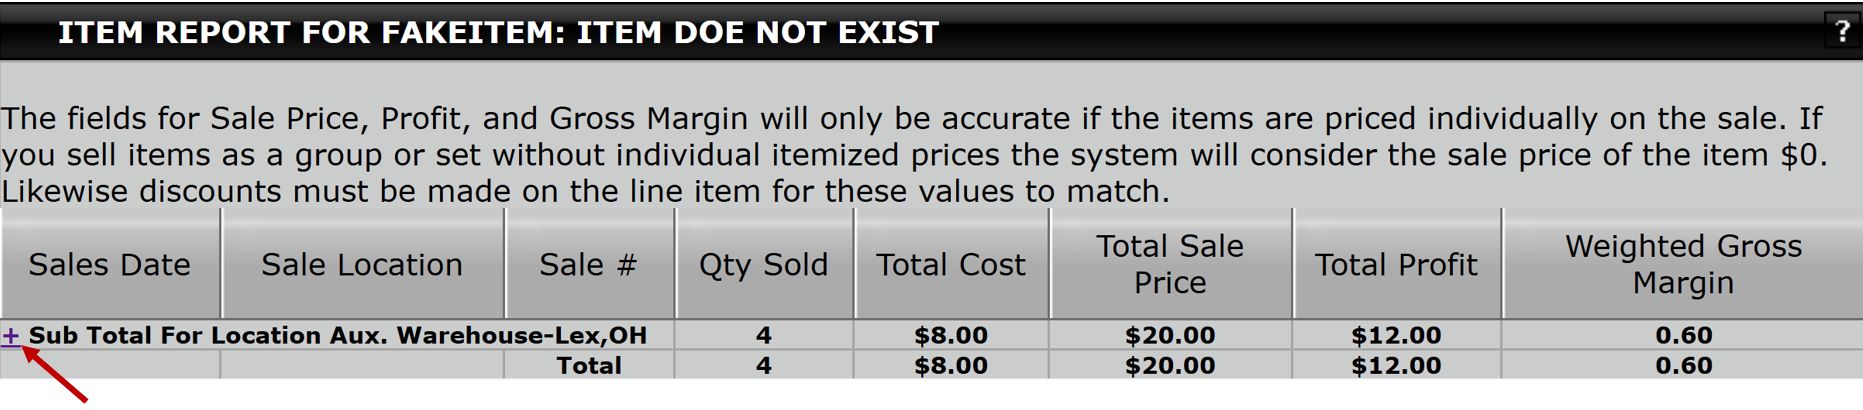
Click on the sales number, and the receipt for the sale will open with all of the information necessary for filling out the warranty. ( This will only populate if the information was gathered when creating the customer account or at the time of the sale)