In this article, we will provide a step-by-step walkthrough on adding non-inventory items to your EZ Process Pro system.
When using EZ Process Pro, it’s essential to enter non-inventory items, such as warranties, correctly. Accurate entry ensures you can easily retrieve and report the necessary details to warranty companies when submitting claims. This article will guide you through the correct process for entering and pulling warranty details within EZ Process Pro
Why Proper Entry of Non-Inventory Items Matters
Non-inventory items like warranties do not affect physical stock levels but are critical for documentation, customer service, and accounting. If they are not entered properly, it can result in:
- Inaccurate inventory
- Incorrect calculation of Spiffs ( If Spiffs are paid on non-inventory items)
- Inaccurate reporting of asset value and accounting
By entering these items correctly from the start, you ensure data integrity and make the reporting process straightforward.
To enter the non-inventory items, please follow the steps below:
- Navigate to Main Menu > Getting Started > Enter Non-Inventory Items
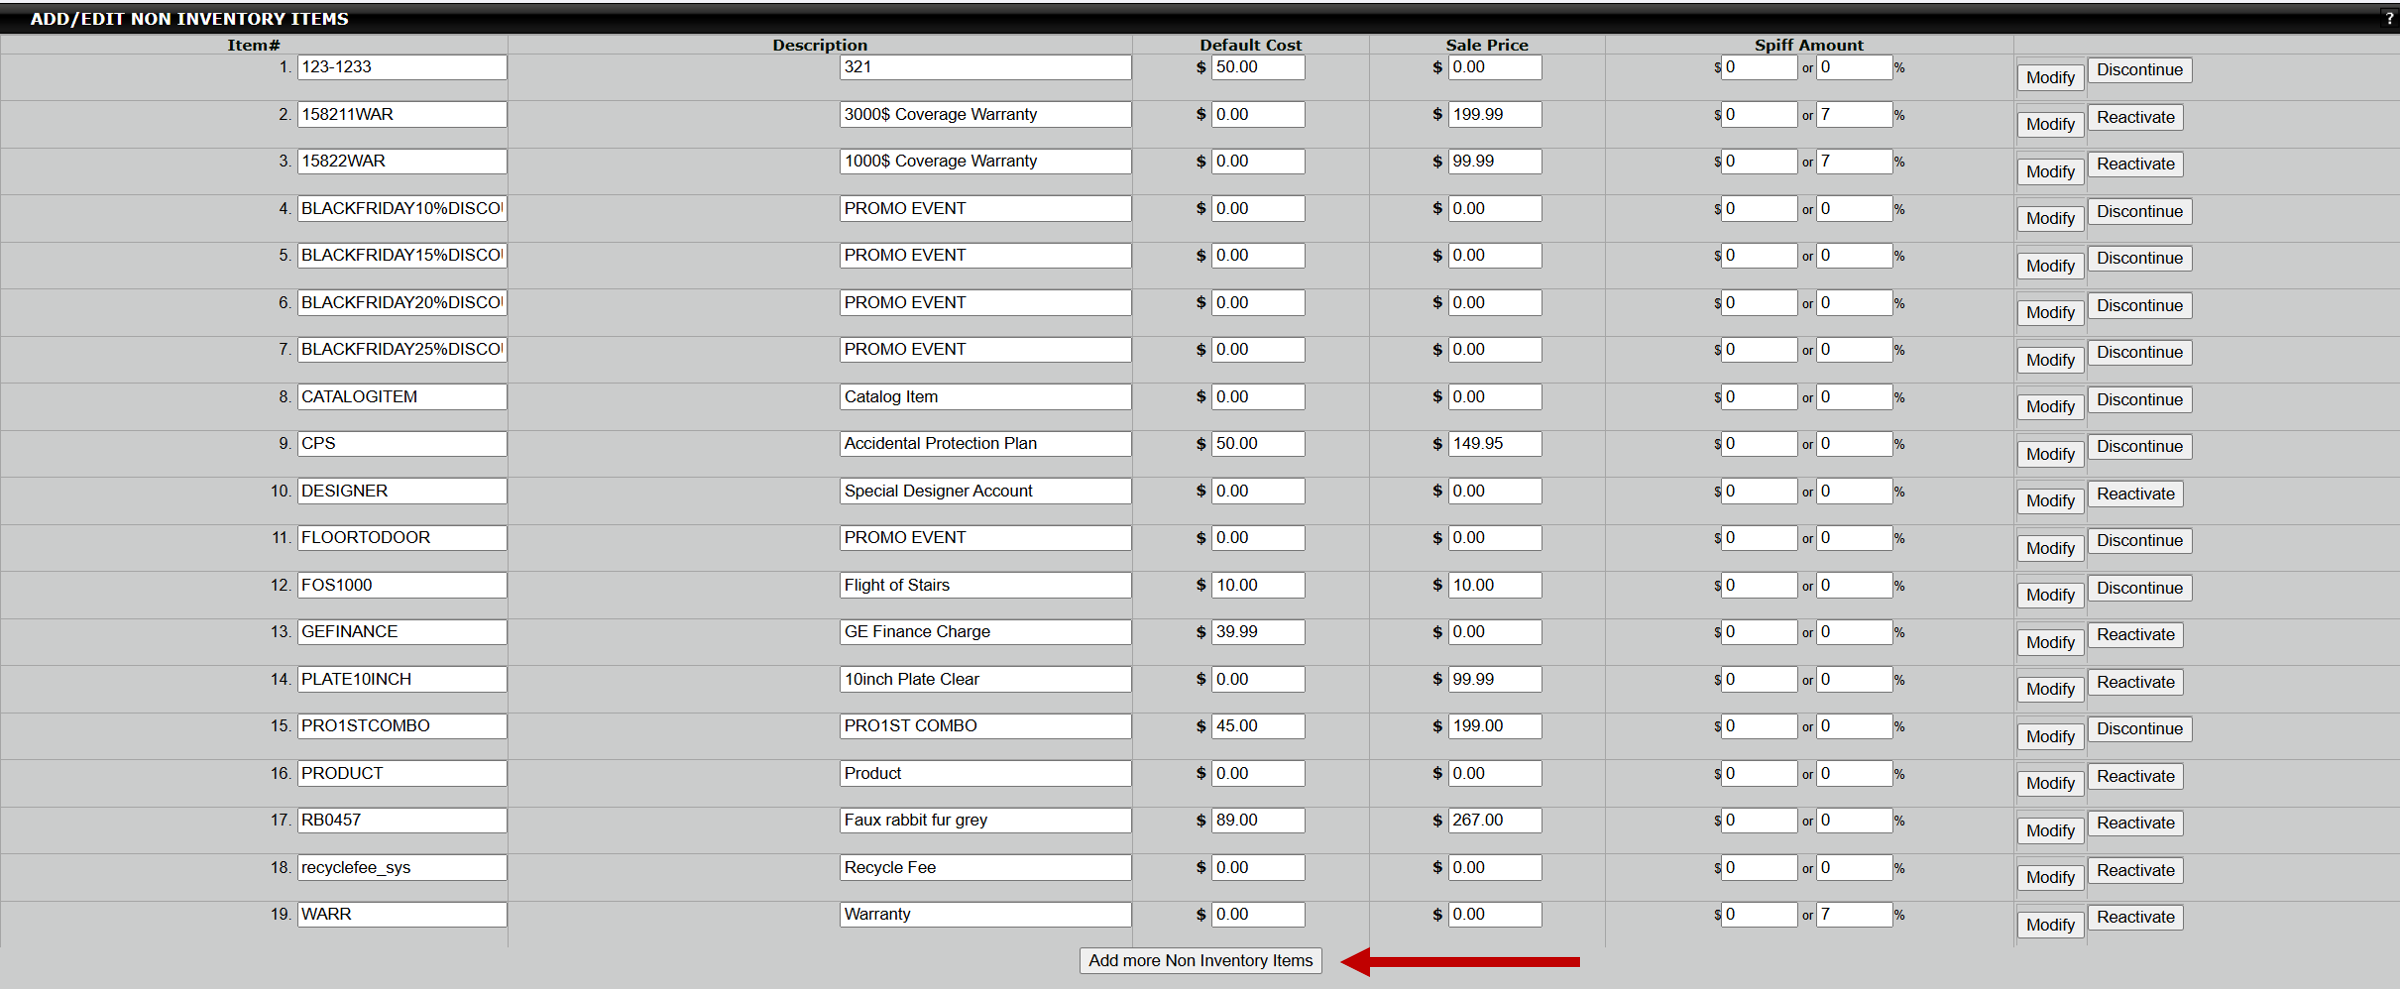
- This will take you to the page below, where you can see some examples of items entered into our test system

- To add new non-inventory items, click on the Add More Non-Inventory Items button at the bottom of the page. This will take you to the page below

- Here, you need to enter the following
- Item Number: The item number associated with the item.
- Description: A brief description of the item
- Default Cost: This is the default cost of the item for you
- Sale Price: The sale price of the item
- Spiff Amount: If you intend to pay a spiff for the item, you will need to enter either a set amount or a percentage of the sale price.
- Once complete, simply click Submit at the bottom of the page to save the item(s)