
Steps Before Retaking Inventory
1. Account for any new inventory movement that has not been recorded in the system yet. This means Confirming all delivery, backorder, and transfer memos that have already been completed and receiving all Purchase Orders that have arrived but are yet to be confirmed.
2. View all undelivered sales in sales reports and ensure that no sales listed have been delivered but may have slipped through the cracks. Generate and confirm the delivery before continuing with the Re-Take Inventory Process
Please keep in mind that any items NOT found that previously existed in the original inventory count will be treated as shrinkage.
Retaking Inventory
To access retake inventory you must navigate to Main Menu > Management Adjustments > Retake Inventory
From here you will need to select between the Manual or Barcode version which will be discussed below.
Manual Version:

You will need to first select the Location and manufacturer you which to retake inventory and click submit.
This will direct you to the screen below:
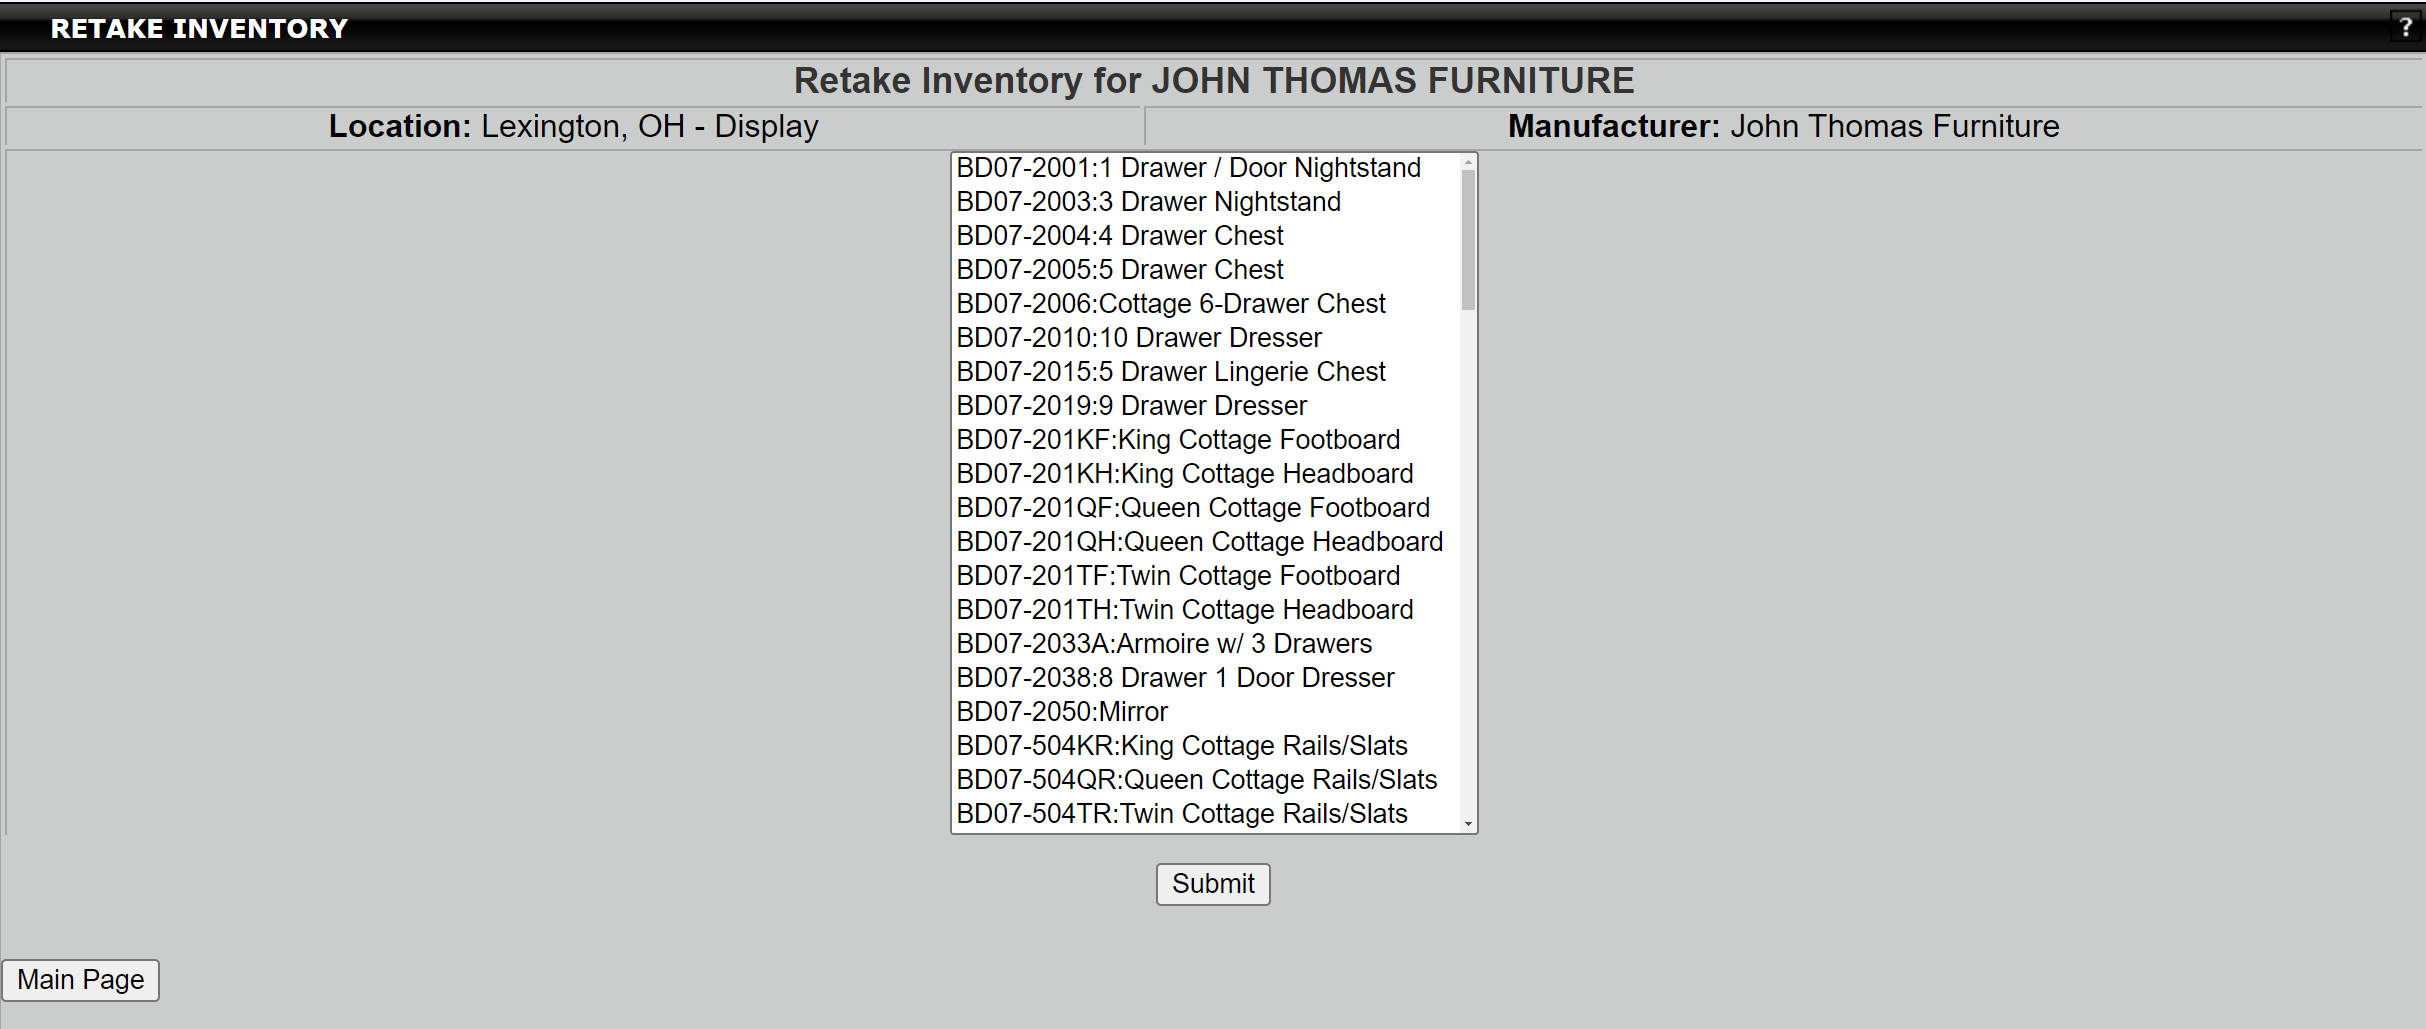
Here you will need to select the item you wish to retake inventory to and click Submit. Once on the screen below, you will need to select any customizations such as Fabric and Finish, and enter the quantity. To confirm the change simply click Submit.

Barcode Version:
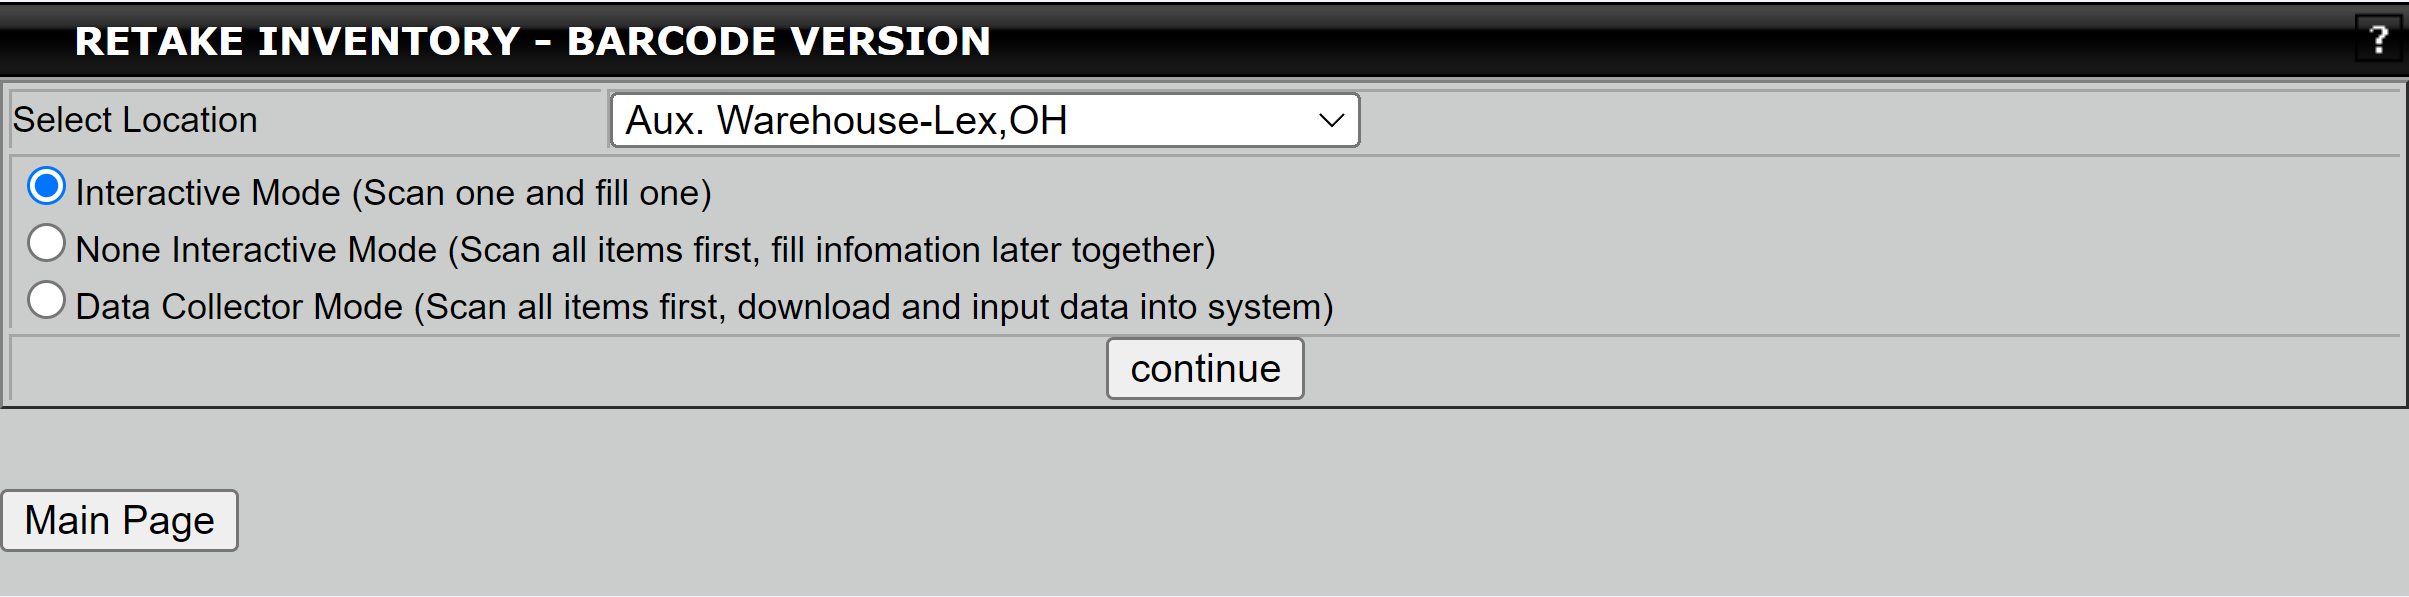
Select Location: This is where you will select which location you wish to retake inventory for
Interactive Mode: By selecting this mode you will be scanning and retaking inventory for one item at a time.
None Interactive Mode: Your barcode scanner will directly communicate with the software, and each time you scan a barcode sticker on your product, it will automatically submit this item into the system, and add it to your Retake Inventory. Please add all items and then click submit.
Data Collector Mode: Your barcode scanner will store all products scanned, once all products have been scanned, connect the scanner to the computer and upload the information into Excel or Word. Then copy and paste data into the box for retake inventory.
At this time the new inventory count is visible in comparison to the old inventory count side by side. However, the new count will not take effect until it has been authorized by a manager
Authorizing changes
To finalize your changes you must navigate to Management > Adjustments > Retake Inventory > Authorize Changes
All items were not scanned during the retake inventory.
- Leave at current quantity: this means every item that has not been scanned will stay at the current quantity that is in your inventory.
This means that if your Inventory says that you have 6 chairs but you scanned 0 in the warehouse, your inventory totals are still going to show those 6 chairs. But if you scan 3 pillows for retake inventory and in inventory, it said there were 6, it will now change your quantity to 3. If you are only cycle counting certain sections and there may be items that originally existed yet you did not get around to recounting yet, you do not want the system to change the count on those items to 0 so you will leave at the current quantity.
All items ARE scanned during retake inventory.
- Change All quantities to 0, Make sure before you choose this option there will be no inventory coming in or going out of the entire location you are retaking inventory for. If you are retaking inventory for just one manufacturer please make sure that there will be no inventory changes during your retake inventory or authorizing retake inventory process for that manufacturer.
If your Inventory shows that you had 2 red chairs, but you did not scan any red chairs, your total of this item will change to 0.
IF you have completed the entire count of EVERYTHING in your inventory then you can Change all quantities to 0. What this means is that I have taken ALL inventory and anything I previously had before but have not counted this time is considered missing.
If you choose to change all quantities to 0, all the locations that you did not retake inventory for are showing 0s for every item in inventory under the retake inventory function. To speed up the authorization process REMOVE ALL 0 QTY ITEMS before you authorize if you choose, otherwise, you will see a list including every item in your database that you do not have any of.
Once the report shows up, you will then decide which changes you want to accept to authorize by checking the appropriate box. Be sure to check the drop-down box, there will be several different pages that all need to be authorized. Anything not authorized can be removed. However, if you do not authorize and do not remove the change then the change will remain on the list for you to return and authorize at a later time. Please realize that until all authorizations or removal of a change is completed you should not receive additional inventory into that location.